Showing posts with label Desserts. Show all posts

Monday, December 1, 2014

Pumpkin Ginger Cheesecake

DSC00173 DSC00174DSC00198

As it often does, Thanksgiving rolled around again, and I needed a new dessert to serve, so what better idea than to include pumpkin as a flavoring. It also gave me the opportunity to use some crystallized ginger that I had purchased some months ago. I often mention that new pantry items help me to create my recipes and Trader Joe’s pumpkin flavored caramel sauce was one such item used in this recipe along with their pumpkin butter. I made the recipe a week ahead so I could work out the type of topping to use.


Ingredients for Crust:

1 3/4C crushed gingersnap cookies

1C almond meal

1/2C sugar

1 cube unsalted butter

DSC00068DSC00070DSC00071DSC00074DSC00078DSC00079

After finely crushing the gingersnaps by placing them inside a large plastic bag and mashing them with a rolling pin, combine with the other dry ingredients, then with a fork mix in the room temperature butter until it is distributed throughout the other ingredients. If you squeeze some together in your hand and it does not crumble away and lose its shape it is ready to press into a spring form pan. If it does not hold its shape it needs more butter added gradually until it holds it shape. Set aside in the refrigerator.

Ingredients for Cheesecake:

3 8oz packages of Philadelphia Cream cheese

4 extra large eggs

1C sugar

1t vanilla paste

1C pumpkin pie filling

1T pumpkin pie spice

DSC00014DSC00085DSC00087DSC00090DSC00095DSC00083DSC00096DSC00099     

Preheat your oven to 375 degrees. Mix the room temperature cream cheese until creamy, then add the sugar and cream together. Add the vanilla flavoring and mix again, adding the eggs and beating until fully incorporated and creamy. Add the pumpkin pie filling and spice together, then mix into the cream cheese batter until very smooth.

DSC00102 DSC00106 

Remove the crust from the refrigerator and fill it with the cheese cake batter. Place it in the oven on a center rack and bake approximately 45 minutes. Test with a toothpick to see if it is cooked. If the toothpick is not dry, it needs another 5 minutes. It’s important to fully cook a cheese cake or it will sink in the middle with the weight of the topping. After it is cooked, set it aside to cool while you make the topping.

Ingredients for Topping:

1 pint sour cream

2T sugar

1t vanilla paste

1 small jar pumpkin caramel

4 oz chopped toasted pecans

4 oz chopped crystallized ginger

DSC00109DSC00110DSC00114DSC00116

Mix together the sour cream, sugar and vanilla paste. Spread it over the cheesecake. I usually start at the outside rim and work it toward the center so the thickest amount of topping is at the edge of the pan in hopes that it will keep the cheesecake from sinking in the middle. Place it back in the over for 10 minutes to set.

DSC00028DSC00031DSC00033DSC00032 DSC00041DSC00037

On my first try, I decided to add pumpkin butter to the top of the cheesecake to secure the white chocolate  and also the pecans and ginger. The pumpkin butter had a lemon taste that I didn’t like, so ultimately I used the leftover canned pie filling instead to add another layer of pumpkin to the final product. By dividing the cake in half I could try two different types of finished topping. I like the grated white chocolate, but wanted something with more texture so I then added the toasted pecans and chopped crystallized ginger to the other half. Pretty good, but not perfect. I drizzled the pumpkin flavored caramel over them and had my “eureka “ moment.

DSC00164DSC00175 

DSC00180

On Thanksgiving day I placed a layer of the canned pie filling in the center, packed the toasted pecans and crystallized ginger into the center area and drizzled the pumpkin flavored caramel sauce all along the outer edges of the cheesecake with a little more in the center for good measure.

Wednesday, June 2, 2010

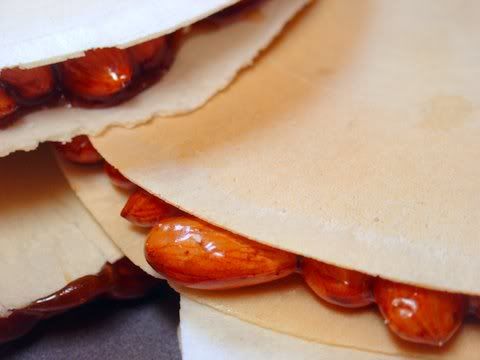
Ostia Ripiena di Maria Lauriola

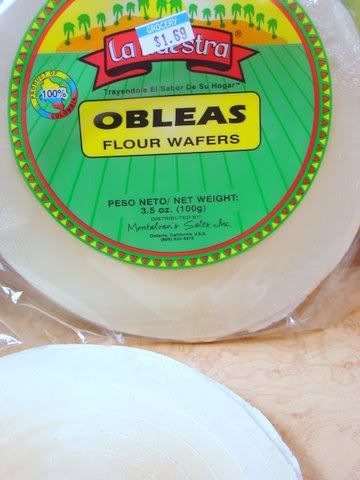
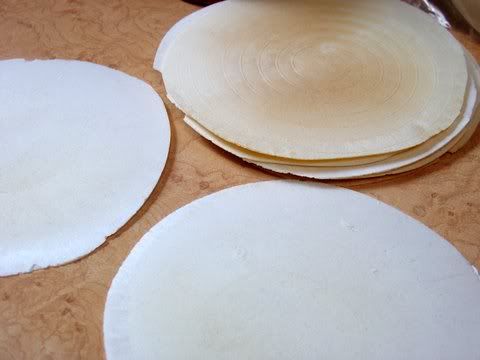
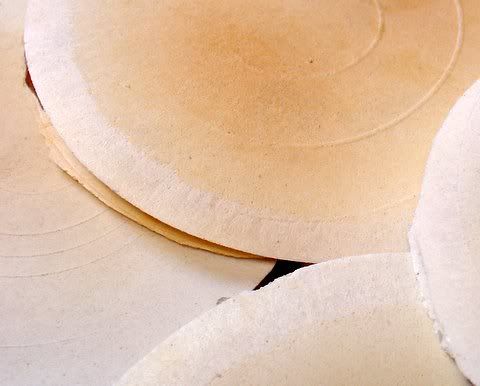
This is a recipe given to me by the sister of a dear friend who shared his family with us on a trip to Monte Sant'Angelo in Puglia. We were amazed at the generosity of this family. Not only did they make dinner for us, but cleared their calendar to give us a tour of the entire peninsula the following day and another dinner. They will forever be in our hearts. Ostia is the Italian work for host, referring to a communion wafer and piena means full while I believe ripiena means filled. The very thin wafers are not sold here, but I found a suitable substitute in a local Mexican market.

Ingredients:
2 pounds whole almonds
300 gr honey
100 gr sugar
cinnamon to taste

flour wafers

Directions:


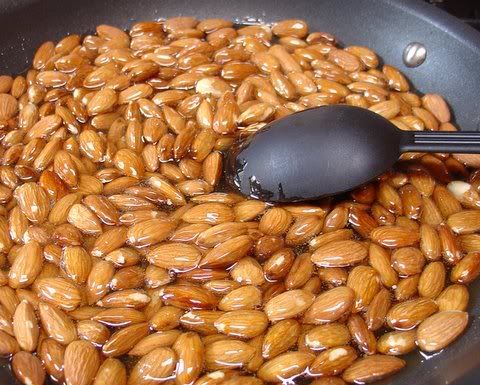
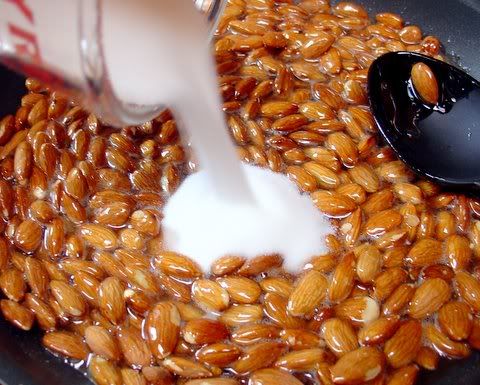
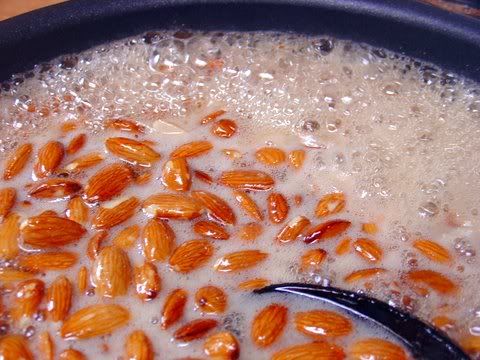
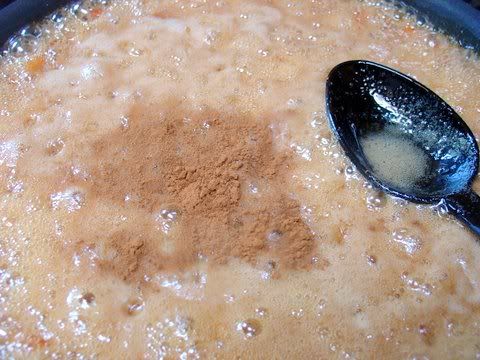
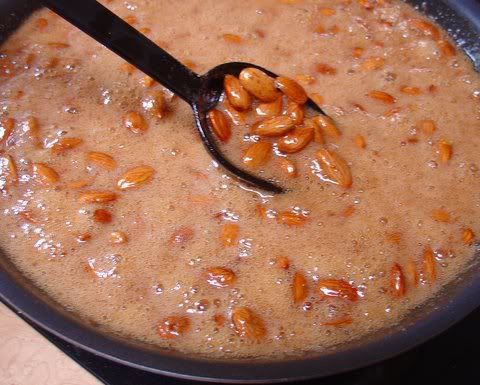
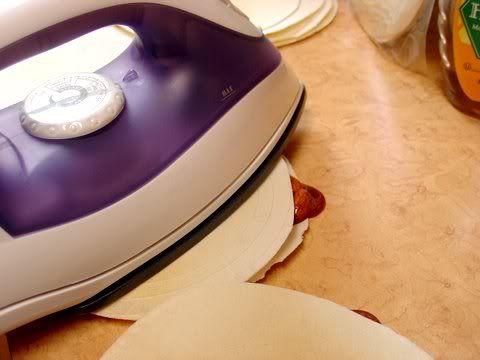
Heat the almonds and honey until the honey thickens then add the sugar until the sugar melts. Add the cinnamon to taste and take the pot off the heat. Take the ostia and lay on a flat surface, then fill with the almond mixture, place the 2nd ostia on top and flatten with a heavy object like an iron.


Heck, I don't know a gram from a kilogram except that it may be 100th the size, and 28grams are in an ounce, but the math got so confusing, I decided to use about 22 ounces of honey, 2/3 cups of sugar, 1 1/2 pounds of almonds and 1/2t of cinnamon. Since I couldn't judge how thick it had to be, it seemed a good idea to use a candy thermometer and at least get it between soft and hard ball stage. Even though my ancient candy thermometer is a bit untrustworthy, it seems to have worked.

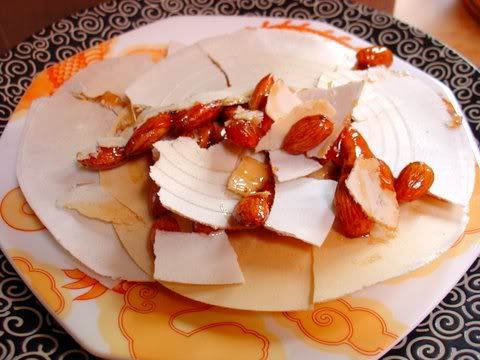
Here is one big caution for anyone trying this recipe, don't get smart and decide to do this on your kitchen counter; bad, bad idea. I lost two that way, but luckily I figured out it wasn't going to work well before more were ruined. Don't scoop too much of the honey either, because when it overflows, even onto Teflon, it will stick and be impossible to lift without breaking the wafers. Luckily some scissor trimming helped me to salvage several of the Ostia Ripiena that had this particular problem.

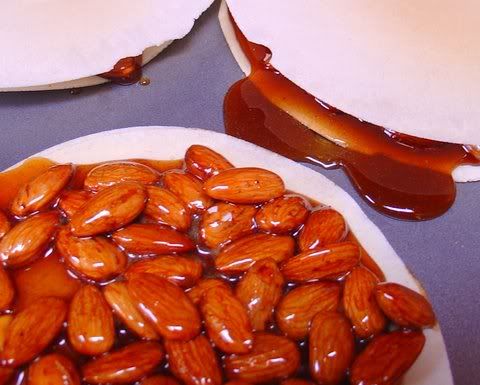
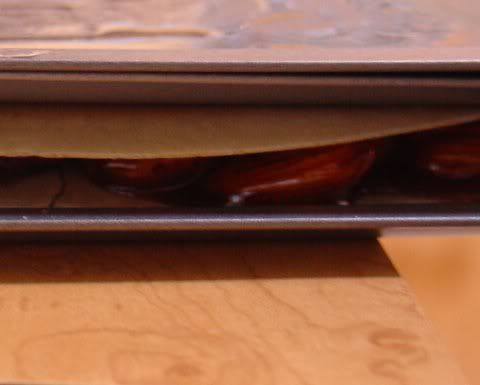
It came as a big surprise that the wafers started changing shape the minute they were hit with the hot caramel, so I had to work quickly. I tried to get the almonds into one layer fast, then top them with the second wafer, but they were shape shifting the entire time and I only had one iron. Since they needed to be weighted down, Plan B quickly took shape and I grabbed 3 Teflon coated sheet pans, pulled off 2 and threw more wafers on the bottom pan, filled them, topped them with their 2nd wafer and loaded the 2 remaining pans on top.

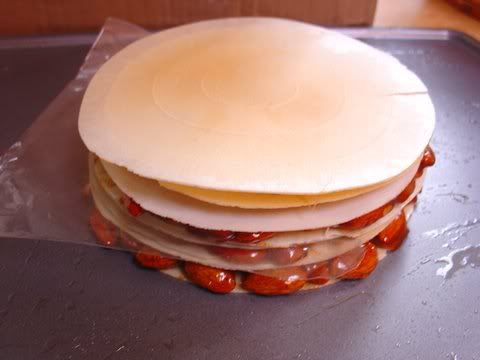
Looking at the pan of cooked filling, I knew I had to come up with yet another plan, since I was out of sheet pans. That is when I buttered the top pan, layered on the nuts and spread them out. It was going to just be left as is to become almond brittle, but since there were more wafers, I decided to try something. I layered some wafers on top and pressed them down onto the filling that was cooling, stuffed more nuts underneath each of them with a fork, and twisted them around on the sheet pan until I could lift them off. I put the first of them on a plate, topped it with a 2nd wafer and loaded the next one on top of that, then added its 2nd wafer, and continued that process until they were all completed and staying flat under their own weight. They went back in a stack onto the sheet pan and I added a dinner plate to keep them from curling up. The process added more weight to the sheet pans on the first batch and all's well that ends well. The second procedure was actually easier than the first.

Saturday, January 30, 2010

Goat Cheese Napoleon

I have such great fun repurposing leftovers, so they are nothing like what their components were when originally used. This sweet yet savory napoleon is a good example of that. The idea for this particular cheese mixture of minted goat cheese came from the one that originally topped fresh figs. But since I had puff pastry in the house I decided to try something different with the cheese. Although good, I think I can tweak this recipe into being something even better.

Ingredients:
1 package frozen puff pastry squares
4 oz. goat cheese
4 oz mascarpone
fresh mint
honey

Directions:


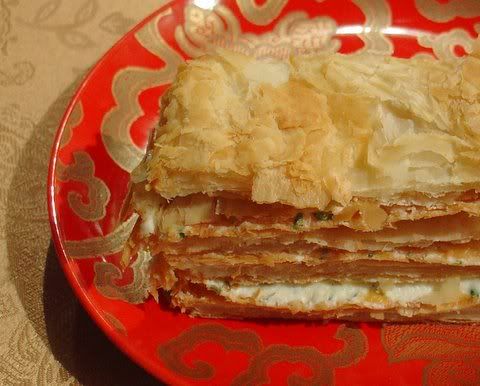
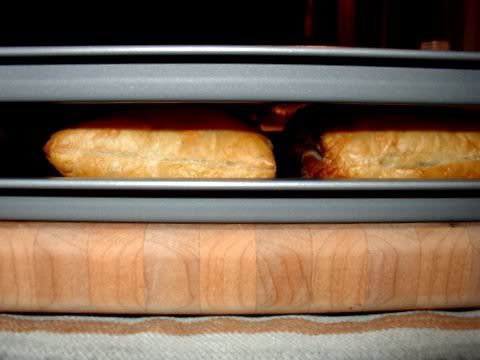
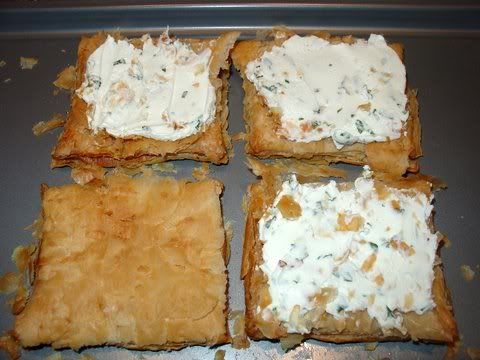
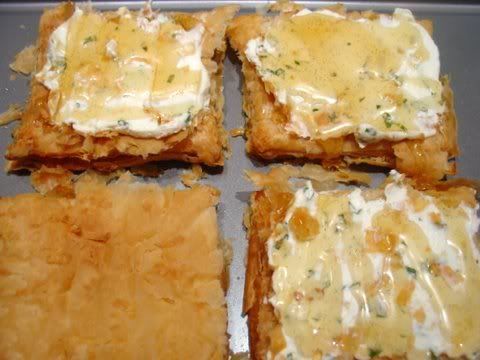
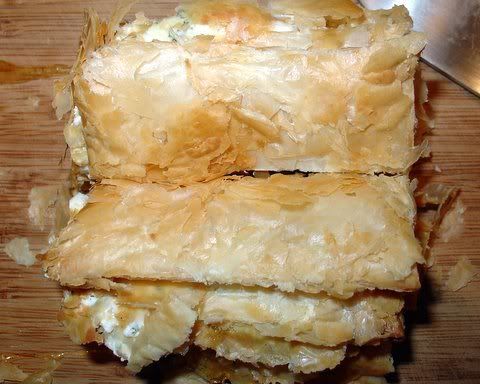
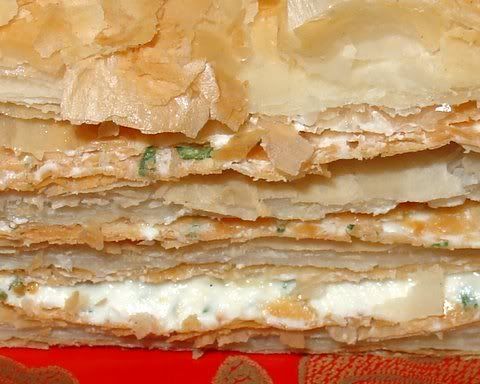
First thing to do is to bake the puff pastry according to package directions. This is easier said than done when you buy yours from a Middle Eastern market where the packages have no directions. I decided to go for a safe 375 degrees and that worked well. Halfway through the baking, when the pastry is starting to rise, place another baking pan on top to stop the dough from rising to much. On this particular baking, I waited too long and as you can see from the 2nd photo above, the pastry started flaking when I spread the cheese on top. Chop up some mint and add it to the softened goat cheese and mascarpone for the spread. I added the mascarpone to give a creamier texter and more buttery taste to the cheese spread.

After spreading on the goat cheese, generously drizzle on the honey, add another layer of the pastry, then spread on the cheese mixture and drizzle more honey, then cap with a final layer of baked puff pastry. In the photos you can see that I did the entire process using square dough, thereby forcing myself to cut the final product into individual portions. Do yourself a favor and cut the dough into portion size pieces before you bake it. That's the way I'm going to do this next time and I may also add sugar to the minted cheese. The recipe is savory, but I think the added sweetness will enhance the cheese taste without making this a sweet dessert. All in all it was a good way to use up the leftover minted goat cheese.