Showing posts with label Meats. Show all posts

Wednesday, January 6, 2010

Smoky Rub for Pork

I came up with this recipe when I tried roasting pork tenderloin for the first time. I wanted to do something that would work as a nice counterpoint to the sweet balsamic onion relish that I would be serving with it.


Ingredients:

2t garlic powder
1t smoked paprika
1t garam masala
1t ground cumin
1T extra virgin olive oil

Directions:

Mix all ingredients into a paste and rub on pork tenderloin or center cut pork chop, roast or grill and you're done. This rub may be applied just before grilling the pork chop, but for the pork tenderloin, I suggest letting it sit for one hour, wrapped tightly in plastic wrap.

This center cut pork chop is sitting in a fruit sauce made with cherries and enhanced for this particular use with hot curry powder that I made from 1 part ground cumin, 1 part hot red pepper powder, and one part ground tumeric.

Tuesday, September 1, 2009

Pork & Potato Green Curry


Trying to cook dinner for a Vegan friend was a challenge, but I adapted this recipe by cooking the pork separately and adding it to the curry after plating the portion that would work for my friend, namely the vegetable portion. In this particular try the potatoes were overcooked, so my timing was a bit off, as are the photographs. The taste was still good while the texture suffered.

Ingredients:
1 small pork loin(8-12 oz)
1 medium yellow onion
4 small to medium Yukon Gold potatoes
1C petite green beans
2T green curry paste
1 can lite coconut milk
3T olive oil (sub whatever you like)
1/2C chopped basil
Directions:
Thickly slice the onion and saute 1/3 of it in 2T of the oil over a medium heat until barely translucent, then add the sliced pork loin and saute until cooked through. Omit this step for a vegan or vegetarian dish. Set aside and start sauteing the vegetables in a clean pan.
Saute the remaining onion in the remaining 1T of oil, then add the green beans, saute a bit more and add the potatoes. After a few minutes, add the coconut milk. The white clumps in the photo are the fat solids from the coconut milk, and they melted into the curry without a hitch. Add the green chili paste and if 2T aren't hot enough adjust the amount. Cover the pan for 5 minutes and turn the heat down to simmer. Test the texture of the potatoes and when they have cooked, add the chopped basil. I served this with white polenta that had been cooked with green onions, toasted sesame oil and toasted sesame seeds, but jasmine rice or basmati would work just as well. The polenta recipe is located in the appetizer recipe for polenta cup construction.

Thursday, April 9, 2009

Polpette...Special Meat

When we were on our honeymoon in Venice, we walked into La Bomba, a cichetti bar off the Strada Nova, and started ordering small plates of food to eat while we sampled the local wine. The original owners spoke a little English, so we asked what some of the items were. Meatballs were available so we ordered them. We pointed at them and asked what the Italian name was and the owner said "polpette", then added his own English translation for us "special meat". To this day, 20 years later, we still laugh when we see meatballs and say aloud "special meat". I couldn't remember Nana's recipe when I bought the meat to make these, but she used only ground chuck. I have yet to tweak this recipe to perfection, but since these are going into a sauce, they'll do. La Bomba is under new ownership now, by the former chef and his wife who is fluent in English. Although they still serve polpette, special meat is no longer on the menu.


Ingredients:
1/2 lb ground chuck
1/2 lb ground veal
1/4 lb ground pork
1 cloves garlic
1/3 bunch parsley
2C fresh bread crumbs
1C Romano Cheese
1 egg
olive oil
water

Directions:

Take the breadcrumbs and add water, then squeeze out the water and place the wet crumbs into a bowl. Break the meat up and place it into the same bowl, then set aside. Mince the parsley and garlic and add to the bowl of other ingredients.


Now grate the cheese and place it into the bowl along with a large raw egg. Mix loosely with a fork, then mix with your hands until you get a good homogeneous, well blended mixture.

Shape small amounts into meatballs the size of walnuts, and fry over a medium heat in a pan covered with 1/4" of olive oil. Turn and brown each meatball on all sides. They may stick a little, so jiggle them loose with a fork. I don't know why they are called meat balls, because the minute you start frying them, they flatten out. I suppose meat "pyramids" is out of the question, but that's what I ended up with when I didn't finesse the meat around the pan. Your object is to lightly brown the meatballs as they become part of the spaghetti sauce and cook for 20 minutes in the sauce.

My idea for this group of meatballs is to add them along with the braciole and some hot Italian sausages to make what the Napolitani Americans call a "Sunday Sauce". The sauce that simmers on Sunday mornings while the family is at mass and the nonna is watching the pot.

Wednesday, April 8, 2009

Braciole...Easier Done Than Said

A friend requested that I make braciole for him last year, and I complied with a recipe that was but a vague memory to me. Our cousin Frances served this to us when I was about 14 years old and I loved it. What I remembered was that it was beef pounded very thin, then layered with bread crumbs, Romano cheese, parsley, and minced garlic. It was rolled and secured with a toothpick then cooked in her tomato sauce. It must have been a long simmer because the meat was tender...each mouthful was pure enchantment.


Ingredients:
1 beef round tip roast
1 1/2 cup fresh ciabatta crumbs
1C freshly grated Romano cheese
1/2C minced parsley (1/3 bunch)
1/2 large garlic bulb
1/4C extra virgin olive oil
black pepper (optional)
1 pot meatless tomato sauce

Directions:

Roasts are hard to come by in weights under 5 pounds, so use only half the roast for this recipe, about 2 - 2 1/2 pounds. Slice the roast across the grain into 1/4" slices. Pound them with a meat tenderizer until they are thinner, but take care not to tear them. Small pieces that may tear off may be used to patch other tears in the center portion of each piece. After you have finished tenderizing the meat, refrigerate it while you start to mix the filling.

Traditionally a rustic bread without crust would be used, but I decided on a rosemary ciabatta for this recipe, since it was the smallest loaf I could find. A less course grained bread with a softer crumb might work better. Remove the crust from the bread and pulse the inner portions in a food processor. Measure out 1 1/2 cups and set aside. Grate about 1 cup of Romano cheese. I use a medium grate, not fine, so the proportion will be off if you use a finely grated cheese. Mix the bread crumbs and cheese together and set aside. Now mince the parsley and stir it into the bread mixture.
Mince the garlic and also add it to the filling mixture. Use enough olive oil to moisten the mixture. Some people drizzle the olive oil over the filling once it has been spread on the meat, but this seems much easier to me and helps the filling hold together.

As you place the first slice of meat on the work surface, decide whether you want larger or small braciole, then cut the meat accordingly. After making 3 larger pieces, I opted for smaller braciole and cut all the sliced beef in half. Place a generous layer of the filling on the meat after adding pepper to it, if you choose to add pepper. I tried it, but am not sure it makes much difference. Keep the filling in the center and roll the meat around it, securing the meat with a toothpick. Securing
the meat on the sides, as displayed in the photo above proved to be impractical.
Place a frying pan over a medium high heat and add some olive oil to cover the bottom of the pan by 1/4". Place the rolled meat into the pan to brown, turning frequently to brown all sides. Since they will be components of a rich meat sauce, browning will add depth to the flavor of the sauce. After doing the entire batch, I decided that 2 toothpicks down the center that also secure the sides are enough, and they make the braciole easier to brown. Add the braciole to your simmering tomato sauce and cook for several hours until the meat becomes tender. Remember to remove the tooth picks before serving. They make a nice meat course to go with pasta.

Tuesday, March 17, 2009

Never Too Late for Chili

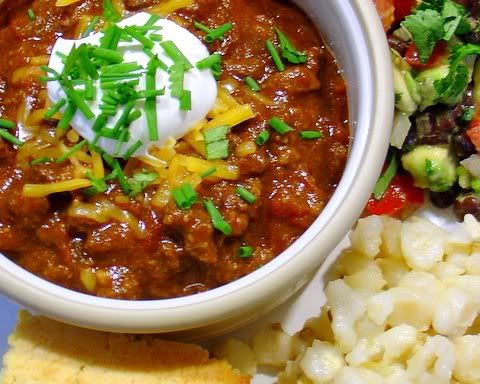
In all my years of cooking, I have never made chili from scratch. Tonight's the night and after looking at a friend's chili recipe and several on the Internet, this is my official version. Inspiration? I wanted to cook a meal for a friend who loves cornbread and what goes better with cornbread than chili? Luckily, I refrigerated chile powder I had purchased in New Mexico so this is really going to have flavor.

Ingredients:
2 1/4 lbs chuck roast, shoulder cut
extra virgin olive oil
2 lg yellow onions
3 cloves of garlic
1 3" sprig of fresh oregano
1 14 oz. can of chicken broth
1 14 oz. can of water
1 14.5 oz can of stewed chopped tomatoes
1/4C New Mexico mild chile powder *
1T Hatch hot green chile powder*
1T cumin
1T pasilla chile powder
1t garlic powder
1t onion powder
salt to taste
1/4C corn meal

Garnishes:
heavy sour cream
grated cheddar cheese
chopped chives or diced red onion

Directions:

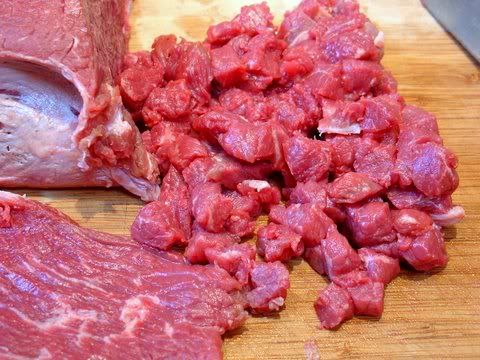
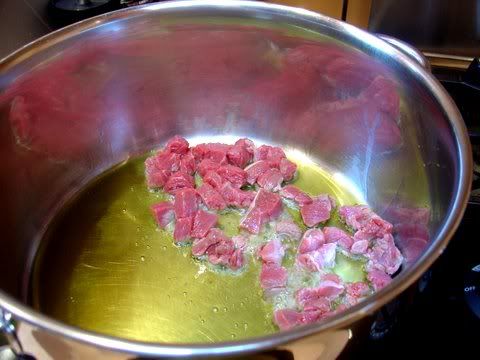
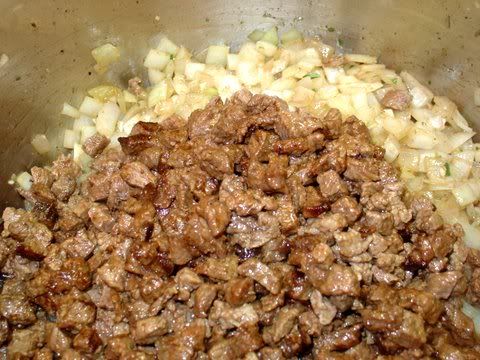
Meat is king in the realm of chili and most of the cuts used for it are on the tough side so cooking should be long and slow. A typical chuck roast has some silver skin you may wish to cut around, so by all means do, then dice the meat into 1/2" cubes. Many traditional chili recipes use coarsely ground chuck, an easier method than this. I like the chunkier texture and the feeling I get that this is not just another hamburger recipe. Cover the bottom of your stock pot with a thin layer of extra virgin olive oil and start to brown the cubed chuck in small batches over a medium high heat, so you do not lower the temperature of the oil by a significant amount. If you overcrowd the pot, the meat will not brown and your chili will not have the depth of flavor that will make it rich in taste.

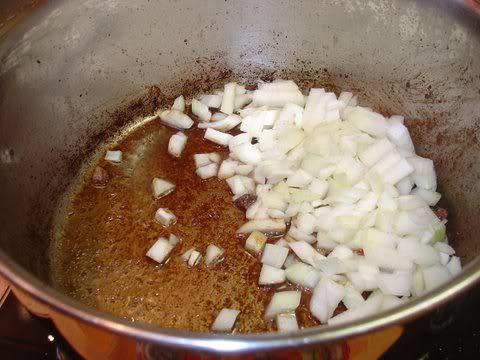
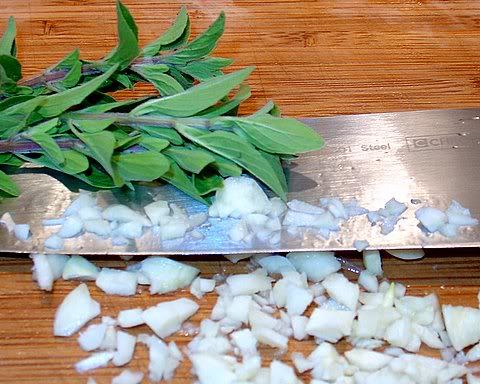
Remove the meat from the pan, lower the heat to medium and start caramelizing the onions, then mince the garlic cloves and the sprig of oregano. Add them to the pan and saute a minute or two. Do not brown the garlic or you will introduce a bitter taste into your chili.

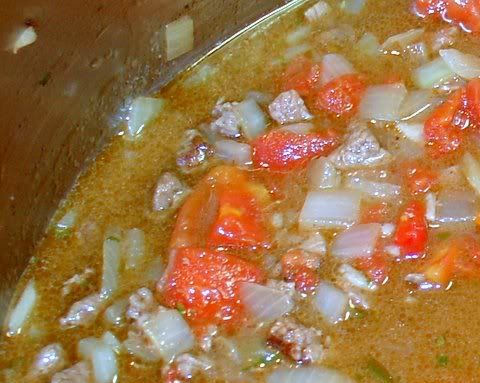
Replace the meat into the pan and stir the onions and meat together, then introduce the chicken broth and water into the mix. Bring this to a boil and add the can of chopped tomatoes. Why did I use chicken broth instead of beef...I just like it better, it adds another depth to the flavor and it introduces salt into the chili without overdoing it. Now that the chili is boiling, cover the pot and lower the heat to a simmer. Simmer the chili for an hour stirring occasionally to make sure it is not sticking to the pot. When you start the simmering phase, make certain the meat is entirely covered with liquid, even if you have to add more to the pot.

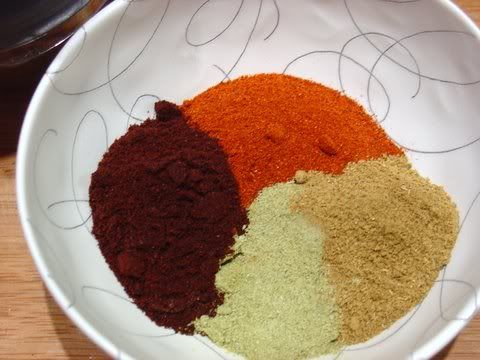
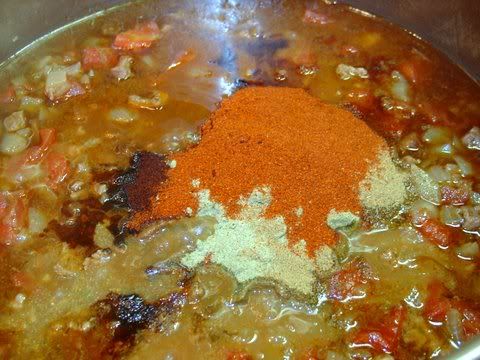
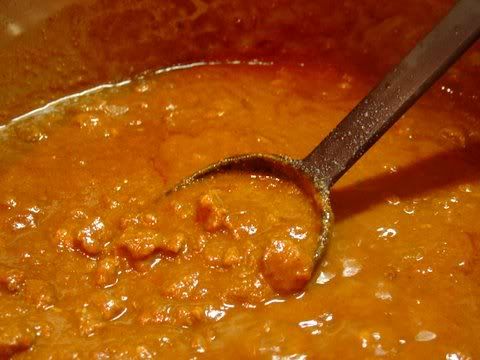
After one hour, check the tenderness of the meat. If it's very tough, add more liquid and cook longer, otherwise, add in the spices and cook for another 20 minutes. I didn't introduce the spices earlier because several of the recipes I looked at indicated that the chile powders should not be cooked for longer than 20 or so minutes. Since this was my first chili, I wasn't going to take any chances.Add the cornmeal for the last 10 minutes to thicken the chili. I used a course grained polenta that was on hand, and ran it through the coffee grinder to achieve a fine powder; no need to go out and buy masa. Stir the chili constantly after introducing the cornmeal.

* Notes:
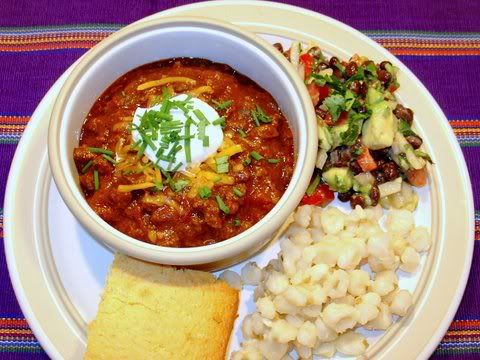
This chili was very hot and guests were kind enough not to complain although their eyes were watering from the heat. I served it with sour cream and cheese which are supposed to cut the heat, along with buttered hominy, since any fat including butter will also ease the "burn" in one's mouth. Until I make this recipe again, and am able to revise it, I would recommend that the chile powders with the asterisk be cut back considerably (at least half) and that the chile be tested for heat to see if more is required. I suspect that since I never bothered to taste the New Mexico chile, that it may not have been mild as the package indicated. Always taste chile powder to determine the heat level.